This step-by-step guide titled “How to Prepare and Print Sublimation Designs on Transfer Paper” provides a thorough explanation and instructions on utilizing a Sublimation inkjet printer to create and print designs onto transfer paper. The guide serves as a comprehensive resource for those looking to explore the process of sublimation printing, providing a clear and concise set of instructions to ensure successful printing outcomes.
Top-selling sublimation inkjet printers


Gather the necessary materials
- Collect the necessary materials:
- Sublimation ink: Ensure you have a sufficient supply of sublimation ink in the desired colors for your design. Sublimation ink is specifically designed to transfer onto various substrates through the sublimation process.
- Transfer paper: Acquire high-quality sublimation transfer paper that is suitable for use with your inkjet printer. Choose transfer paper that is compatible with sublimation ink and can handle the heat required during the transfer process.
- Computer with design software: Prepare a computer that has appropriate design software installed. This software should support graphic manipulation and allow you to create or modify your designs as desired.
- Inkjet printer: In order to print your designs onto the transfer paper, you will need an inkjet printer. Ensure your printer is compatible with sublimation ink and has a sufficient print resolution for accurate and vibrant results.
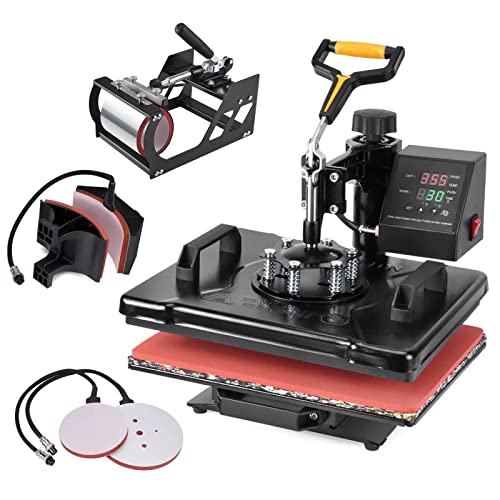
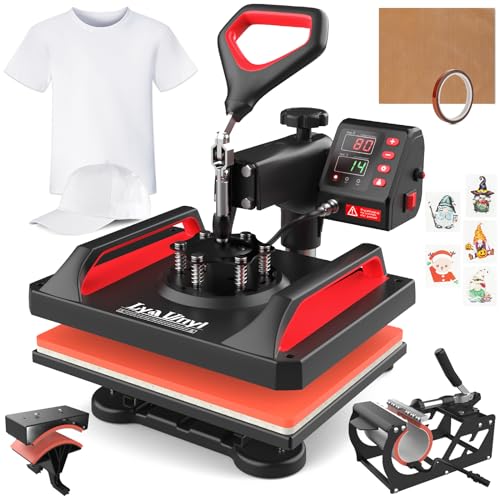
- Heat press machine: Obtain a heat press machine that will allow you to apply heat and pressure during the sublimation process. Choose a machine that suits the size and type of substrates you plan to work with, such as garments, mugs, or ceramic tiles.
- Prepare the materials for use:
- Check ink levels: Ensure the sublimation ink cartridges are filled or have enough ink for your printing requirements. Replace or refill cartridges as needed to avoid any interruptions during your printing process.
- Set up the printer: Install the necessary printer drivers on your computer and connect the inkjet printer according to the manufacturer’s instructions. Verify the printer settings are correctly configured for sublimation printing, including paper type and print quality settings.
- Design and prepare artwork: Launch the design software on your computer and create or import the artwork you wish to transfer onto your substrate. Adjust the design dimensions and colors as desired.
- Load the transfer paper: Load a sheet of sublimation transfer paper into the inkjet printer’s paper tray, ensuring it is positioned correctly and secured in place.
- Preheat the heat press machine: Follow the manufacturer’s guidelines to preheat the heat press machine to the appropriate temperature for your sublimation transfer. Allow the machine to reach the desired temperature and stabilize before continuing.
Remember to always consult the specific instructions provided by your equipment manufacturers and follow proper safety guidelines when operating the inkjet printer and heat press machine.


Design your artwork
To use design software to create or modify your desired design, follow these steps:
- Open the design software on your computer.
- Create a new project or open an existing one.
- Use the tools provided by the software to design or modify your artwork. This may include drawing, painting, adding text, or using templates and shapes.
- Ensure that your design is the correct size for printing by selecting the appropriate dimensions or entering custom dimensions.
- Set the resolution of your design to the required printing resolution. Typically, 300 dots per inch (dpi) is the standard for high-quality printing.
Consider the following tips to make the process easier:
- Use guides or grids to align elements and create a balanced composition.
- Use layers to organize different elements of your design and make it easier to edit.
- Save your work regularly to prevent any potential loss of progress.
Remember, the purpose of this guide is to provide clear and easy-to-follow instructions. By using bullet points and imperative verb forms, you can break up information and guide the user through the process of using design software to create or modify their artwork. Markdown formatting is essential for organizing the content and making it visually appealing.


Print the design on transfer paper
To load the sublimation ink into the inkjet printer and print your design onto the transfer paper, follow these steps:
- Ensure that you have the appropriate sublimation ink and transfer paper for your printer. Check the printer’s manual or manufacturer’s website for compatibility information.
- Open the printer’s ink cartridge access panel or tray. Carefully remove any protective tape or covers from the ink cartridges.
- Install the sublimation ink cartridges into their respective slots in the printer. Make sure they are securely inserted and properly seated.
- Close the ink cartridge access panel or tray and wait for the printer to recognize the new ink cartridges. This process may take a few moments.
- Open the file containing your design on your computer and select “Print” from the menu. Alternatively, right-click the file and choose “Print” from the context menu.
- In the printer settings, ensure that the correct paper type is selected for the transfer paper you are using. This information can usually be found on the packaging or in the printer’s manual.
- Adjust any other printing settings as needed, such as print quality or color options. Consult the printer’s instructions for guidance.
- Click “Print” to initiate the printing process. Ensure that the printer has enough transfer paper loaded in the paper tray to accommodate your design.
- Wait for the printer to complete the printing task. Avoid handling the printed transfer paper immediately to prevent smudging or smearing of the ink.
- Once the printing is finished, carefully remove the printed design from the printer. Handle it by the edges to avoid leaving fingerprints or smudges on the ink.
Remember to always follow the printer’s instructions and refer to the manufacturer’s guidelines for optimal printing results.


Prepare the substrate
To ensure the substrate is clean and free from any dust or debris, start by wiping it down with a clean, lint-free cloth. Make sure to remove any dirt, fingerprints, or smudges that may affect the transfer. For example, if you are working with a T-shirt, check for any stains or marks on the fabric and use a stain remover if necessary. Be thorough in your cleaning process, as any residue left on the surface can interfere with the design transfer and result in a poor-quality print.
After cleaning the substrate, it is essential to preheat the heat press machine to the appropriate temperature. This step ensures that the design adheres properly to the substrate and creates a long-lasting, professional finish. Refer to the manufacturer’s instructions or recommended temperature guidelines for the specific materials you are working with. For instance, if you are transferring a design onto a ceramic mug, preheat the heat press machine to the recommended temperature for ceramic materials. Allow the machine sufficient time to reach the desired temperature before proceeding with the transfer to guarantee optimal results.


Transfer the design onto the substrate
To transfer the design onto the substrate, follow these steps:
- Step 1: Place the printed transfer paper on a clean, flat surface with the design facing down onto the substrate. Ensure that the design is aligned correctly and centered on the substrate. For example, if you’re transferring a design onto a t-shirt, position the transfer paper on the shirt where you want the design to appear.
- Step 2: Preheat the heat press machine to the recommended temperature setting for the specific substrate and ink being used. It is crucial to follow the manufacturer’s instructions to prevent any damage to the substrate or ink. For instance, if you’re working with polyester fabric using sublimation ink, set the heat press machine to the recommended temperature for sublimation printing on polyester.
- Step 3: Once the heat press machine is heated to the appropriate temperature, place the substrate with the transfer paper facing down onto the heat press platen. Adjust the pressure on the machine according to the manufacturer’s guidelines. Remember, too much or too little pressure can affect the transfer quality. For instance, if you’re using a heat press machine with adjustable pressure, set it to a medium pressure for a balanced and effective transfer.
- Step 4: Close the heat press machine and apply consistent pressure for the recommended duration. This will vary depending on the substrate and ink being used. Refer to the manufacturer’s instructions for the correct time. As an example, if you’re working with a ceramic mug using sublimation ink, apply heat and pressure for around 2-3 minutes.
- Step 5: After the designated time has elapsed, carefully lift the heat press machine to release the pressure. Use caution as the substrate and transfer paper will be hot. Allow them to cool down before handling. Once cool, gently peel off the transfer paper from the substrate to reveal the transferred design. Remember to follow any additional instructions provided by the manufacturer to ensure a successful transfer.
Following these steps will ensure a proper transfer of the design onto the substrate using a heat press machine.


Summary and Next Steps
In conclusion, preparing and printing sublimation designs on transfer paper requires careful attention to several key steps. To achieve successful results, it is crucial to gather the necessary materials, create a well-designed artwork, ensure proper printing on transfer paper, adequately prepare the substrate, and execute a correct transfer process. Following these guidelines will contribute to the creation of high-quality printed designs that meet your desired expectations. Remember, patience, precision, and attention to detail are vital when working with sublimation designs on transfer paper.
Necessary Supplies
![[200 Count] Black Nitrile Disposable Gloves 6 Mil. Extra Strength Latex & Powder Free, Chemical Resistance, Textured Fingertips Gloves - Medium](https://m.media-amazon.com/images/I/61PiY5ZgftL._SS520_.jpg)