The step-by-step guide on how to set up a sublimation printer is aimed at assisting both beginners and experienced users in effectively getting their sublimation printer up and running.
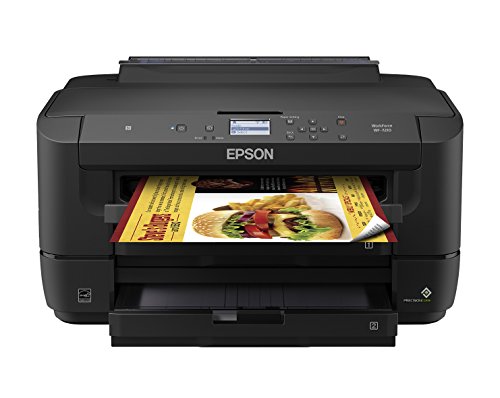
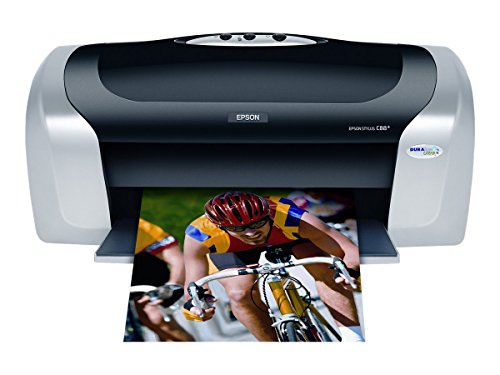
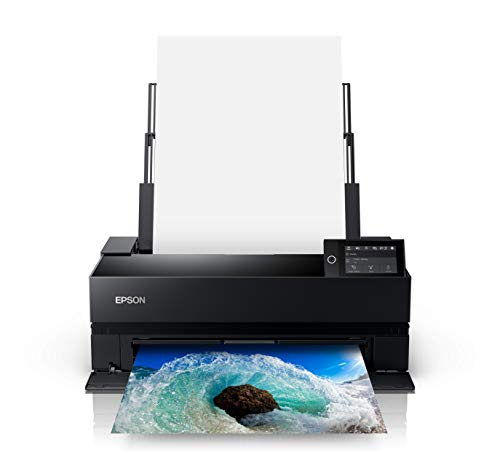
Popular Sublimation Printers


Unpack the Printer
To properly unpack the sublimation printer, follow these steps:
- Carefully remove all packaging materials from the printer.
- Gently cut any tapes or sealant holding the packaging together.
- Avoid using sharp objects that may damage the printer.
- Verify that all components are included and undamaged:
- Check for the printer itself, making sure there are no visible signs of damage.
- Locate the power cord and ensure it is undamaged and free of knots or kinks.
- Check for the presence of ink cartridges and confirm they are securely packaged.
- Look for any included documentation, such as installation guides or user manuals.
- Inspect each component closely:
- Examine the printer for any loose parts or foreign objects.
- Inspect the power cord for any frayed or exposed wires.
- Check the ink cartridges for any leaks or damage.
- If any component is missing or damaged, contact the manufacturer or supplier for assistance:
- Provide them with details about the missing or damaged component.
- Follow their instructions for replacement or repair.
By carefully following these steps, you can ensure that your sublimation printer is properly unpacked and ready for use.

Connect the Power Cord
Connect the power cord by first locating it. Plug one end into the power input of the printer and the other end into a nearby power outlet. Ensure that the power outlet is easily accessible and offers a stable power source.
Install Ink Cartridges
To properly install ink cartridges, start by opening the ink cartridge compartment. Next, carefully insert the ink cartridges into their respective slots, making sure to follow the manufacturer’s instructions. For example, if you are installing a black ink cartridge, locate the slot labeled ‘Black’ and gently insert the cartridge until it is securely in place. Repeat this process for any additional cartridges. Remember to handle the cartridges with care and avoid touching the metal contacts.


Load Printing Paper
Insert the printing paper into the paper tray or designated paper feed, making sure to align it properly. Adjust the paper guides to fit the width of the paper and ensure it is securely in place. This will help prevent any misalignment or paper jams during printing.
Connect to Computer
To connect the sublimation printer to your computer, use a USB cable or any other suitable connectivity method. Make sure that the printer drivers are installed on your computer prior to proceeding.


Calibrate the Printer
To calibrate the printer and achieve the best print quality, follow the printer’s calibration instructions provided. Start by running the calibration program if applicable or access the printer’s control panel to make necessary adjustments. Ensure that you carefully follow the steps outlined in the guide to achieve optimal calibration results.
Test Print
To print a test page and confirm your printer’s proper functioning, follow these steps:
- Navigate to the “Print” function on your device. This can usually be found by going to the File menu and selecting “Print” or by using the keyboard shortcut Ctrl + P (or Command + P on a Mac).
- In the print settings window, locate the “Print” or “Properties” button, and click on it to access additional options.
- Look for a section titled “Test Print” or “Print Quality” and select the appropriate option.
- Choose either a sample image or a test pattern from the provided options. These are designed to help evaluate the print quality and identify any necessary adjustments.
- Adjust the print settings as needed, such as paper type, print quality, or color settings, to ensure an accurate representation of the printer’s capabilities.
- Click “Print” to initiate the test page. Allow the printer to complete the process.
- Once the test page is printed, examine the output for any issues such as smudging, streaks, or incorrect colors. If any problems are encountered, consult the printer’s manual or troubleshoot the issue further.
- If the test page appears to be of satisfactory quality, your printer is likely functioning correctly.
By printing a test page, you can quickly assess your printer’s capabilities and make any necessary adjustments to ensure optimal print quality.
Start Printing
To start printing with your sublimation printer, follow these steps:
- Prepare your design or image: Use graphic design software to create or import the design you want to print. Make sure the file format is compatible with your printer.
- Load sublimation ink: Ensure that you have the appropriate sublimation ink cartridges installed in your printer. Refer to the printer’s user manual for instructions on how to load the ink.
- Adjust printing settings: Access the printing settings on your computer and specify the desired options, such as paper type, print quality, and color settings, for optimal results. Refer to the printer’s user manual for guidance on the specific settings for sublimation printing.
- Load sublimation paper: Place the sublimation paper into the printer’s paper tray or feed it through the proper paper slot, following the instructions provided in the printer’s user manual. Ensure the paper is aligned correctly and properly supported to prevent any paper jams.
- Print your design: Open the design file in your chosen graphic design software and select the print option. Confirm that the correct printer is selected, and click the “Print” button. Monitor the printing process to ensure the paper feeds smoothly and the ink is applied evenly.
- Transfer the design: After printing, remove the sublimation paper from the printer. Apply heat and pressure using a heat press or sublimation press to transfer the design onto the desired substrate. Follow the instructions provided with your heat press for accurate time, temperature, and pressure settings.
Remember to follow all safety guidelines provided by the printer and heat press manufacturers, including proper ventilation and use of protective equipment. Evaluate the printed results for color accuracy, clarity, and durability, making any necessary adjustments to your design or printing settings for future prints.
Key Takeaways from the Process
In conclusion, setting up a sublimation printer can be straightforward if you carefully follow the provided step-by-step instructions. With proper attention to detail and the printer’s manual as your guide, you will soon be able to create vibrant and professional-looking designs. Don’t hesitate to consult the manual for any specific guidance or troubleshooting tips that may arise along the way. Happy printing!
Necessary Equipment


Effective Troubleshooting Methods
Top Sublimation Printer for Novices: Step-by-Step Guide on Epson EcoTank Setup for Sublimation Printing!
Instructions for operating a sublimation printer
- Ensure that the sublimation printer is properly set up and connected to your computer
- Install the necessary printer drivers and software provided by the manufacturer
- Prepare the design or image you want to print using a graphic design software
- Load the appropriate sublimation paper into the printer tray
- Adjust the printer settings such as print quality, paper type, and color management according to your requirements
- Print the design onto the sublimation paper
- Preheat your heat press machine to the recommended temperature and time settings
- Position the printed sublimation paper with the design facing down onto the item you want to transfer the image onto (e.g., t-shirt, mug, etc.)
- Apply even pressure using the heat press machine for the recommended duration
- Allow the item to cool down before removing the sublimation paper
- Enjoy your personalized, high-quality sublimation print on the item!
Frequently Asked Questions about Sublimation Printers
Are there any specific safety precautions or guidelines to follow when operating a sublimation printer?
Yes, there are specific safety precautions and guidelines to follow when operating a sublimation printer. Here are some important ones to consider:
- Electrical Safety: Ensure that the printer is properly grounded and plugged into a surge-protected power outlet. Avoid using extension cords or power strips that are not rated for the printer’s power requirements.
- Ventilation: Sublimation printing involves the use of heat, which can release fumes or gases. Make sure the printing area is well-ventilated to prevent the accumulation of harmful vapors. If necessary, use exhaust fans or open windows to ensure proper air circulation.
- Heat Protection: Sublimation printers operate at high temperatures, so it is crucial to avoid direct contact with hot surfaces. Use heat-resistant gloves when handling hot components, such as the print head or heat press, to prevent burns.
- Chemical Safety: The sublimation process requires the use of inks and transfer paper, which may contain chemicals. Always follow the manufacturer’s instructions for handling and storage. Avoid ingesting or inhaling the ink, and wash hands thoroughly after handling it.
- Fire Safety: Sublimation printers use heat to transfer ink onto the substrate, so it’s essential to keep flammable materials away from the printing area. Avoid placing the printer near combustible substances or sources of open flames.
- Maintenance and Inspection: Regularly inspect the printer for any signs of damage or wear. Follow the manufacturer’s guidelines for cleaning and maintenance to ensure optimal performance and minimize the risk of accidents.
- Training and Knowledge: It is crucial to be properly trained on how to operate the sublimation printer, including loading and unloading materials, programming settings, and troubleshooting common issues. Stay updated with the latest safety recommendations from the printer manufacturer.